Lazyman Supported LazyVim Neovim Configurations
The following are Lazyman supported LazyVim based Neovim configurations:
Install all Lazyman supported LazyVim configurations with the command lazyman -i lazyvim.
📦 What is LazyVim
LazyVim is one of the most popular Neovim “distributions” along with AstroNvim, LunarVim, and NvChad. These aren’t really distributions, they do not include Neovim, but that is what they are called. They are more accurately described as “Neovim configuration frameworks”. In most cases they provide some pre-configuration of plugins as well as an easy way to extend the base configuration.
A Neovim configuration framework can be of considerable assistance in managing the exploding Neovim plugin ecosystem, quickly and easily incorporating advanced features, and maintaining an up-to-date Neovim configuration.
Features that distinguish LazyVim include:
- Very well maintained by the author of
lazy.nvim - Nice architecture, it’s a plugin with which you can
importpreconfigured plugins - Good documentation
Read our overview and comparison of Neovim configuration distributions.
🌟 Overview
LazyVim is a Neovim setup powered by 💤 lazy.nvim to make it easy to customize and extend your config. Rather than having to choose between starting from scratch or using a pre-made distro, LazyVim offers the best of both worlds - the flexibility to tweak your config as needed, along with the convenience of a pre-configured setup.
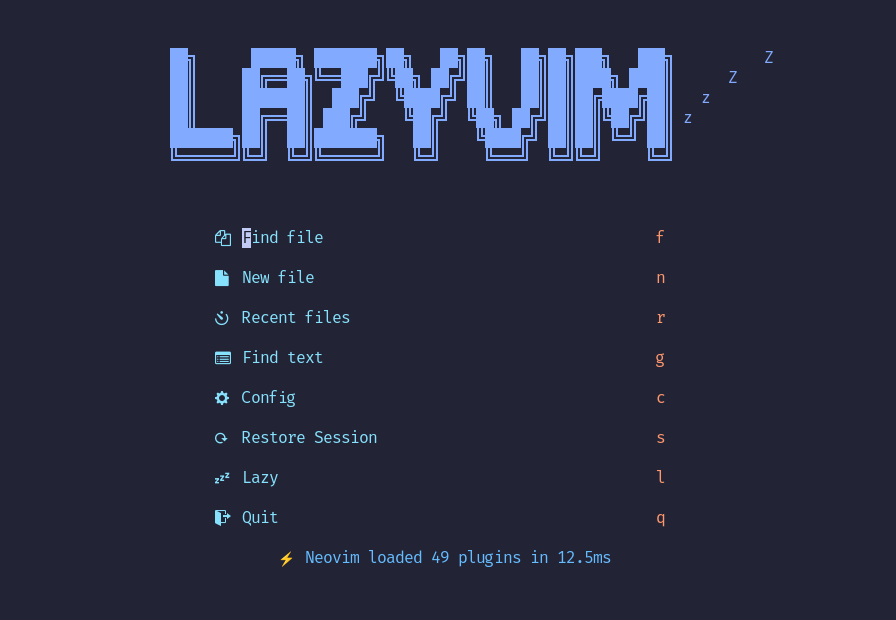
✨ Features
- 🔥 Transform your Neovim into a full-fledged IDE
- 💤 Easily customize and extend your config with lazy.nvim
- 🚀 Blazingly fast
- 🧹 Sane default settings for options, autocmds, and keymaps
- 📦 Comes with a wealth of plugins pre-configured and ready to use
⚡️ Requirements
- Neovim >= 0.8.0 (needs to be built with LuaJIT)
- Git >= 2.19.0 (for partial clones support)
- a Nerd Font (optional)
- a C compiler for
nvim-treesitter. See here
🚀 Getting Started
After installing and initializing lazyman, install the Lazyman Base LazyVim configuration with the command:
1
lazyman -l
Open the newly installed and initialized LazyVim configuration with
1
NVIM_APPNAME="nvim-LazyVim" nvim
There’s a great video created by @elijahmanor with a walkthrough to get started.

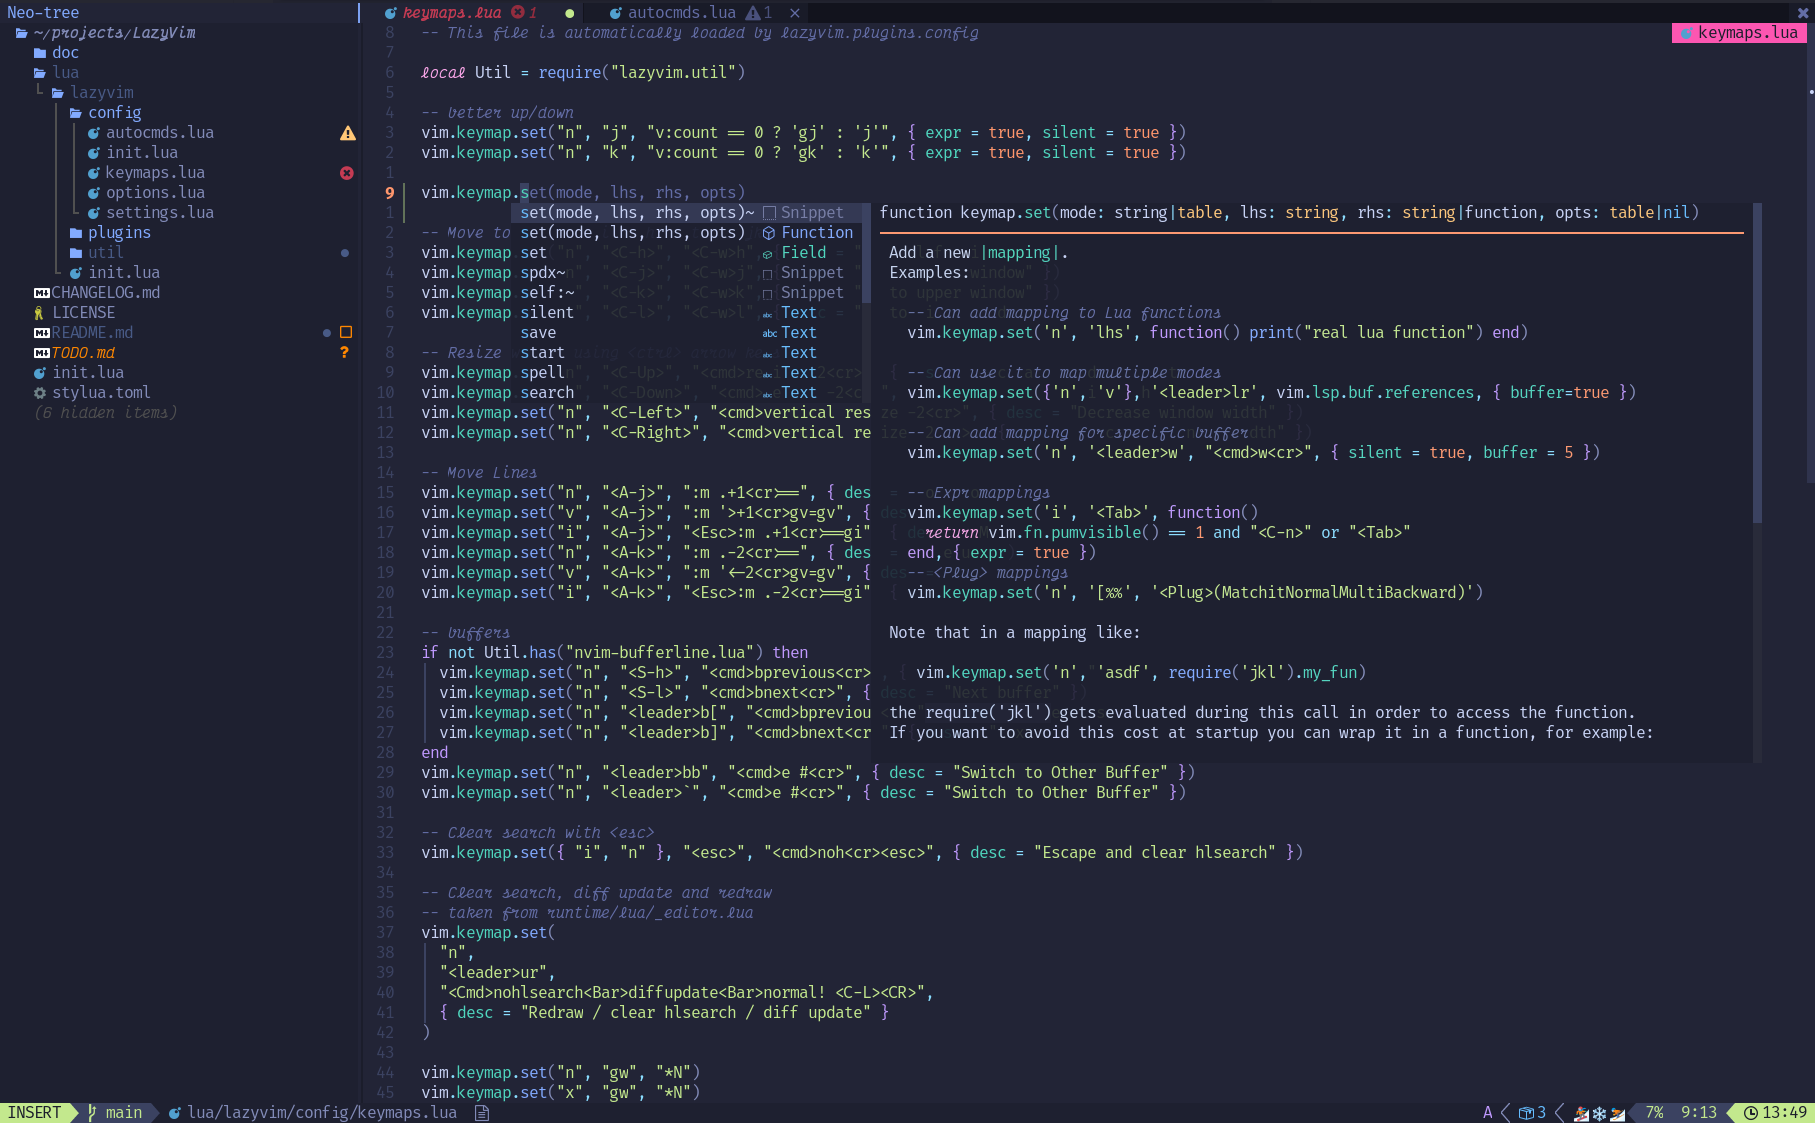
📂 File Structure
The files under config will be automatically loaded at the appropriate time, so you don’t need to require those files manually. LazyVim comes with a set of default config files that will be loaded before your own. See here
You can add your custom plugin specs under lua/plugins/. All files there will be automatically loaded by lazy.nvim
~/.config/nvim
├── lua
│   ├── config
│   │   ├── autocmds.lua
│   │   ├── keymaps.lua
│   │   ├── lazy.lua
│   │   └── options.lua
│   └── plugins
│       ├── spec1.lua
│       ├── **
│       └── spec2.lua
└── init.lua
⚙️ Configuration
Refer to the docs
![]()
![]()
![]()
![]()
![]()
![]()
![]()
![]()
![]()
![]()